
CC-Switch
CC-Switch is a graphical tool for managing AI interface configuration. It can manage provider settings and API keys for Agent clients in one place, including mainstream AI coding assistants such as Codex, reducing the risk of configuration mistakes.
Common use cases include:
- Managing provider settings and API keys for Agent clients such as
Codex. - Quickly switching between AI model interfaces without manually editing environment variables or local config files.
- Reducing repeated setup work and improving maintainability across multiple clients.
This guide focuses on installation. For detailed client configuration, see the related client pages.
Installation
Follow the steps for your operating system.
Open the latest release page. Find the Windows installer on the page. The
.msipackage is recommended, as shown below: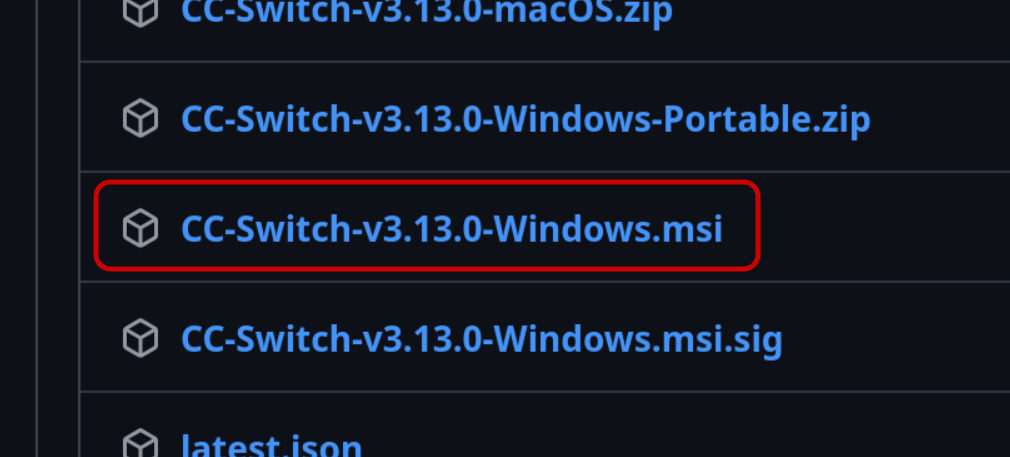
After the download finishes, double-click the installer.
Follow the installer wizard to complete installation.
After installation, find and launch
CC-Switchfrom the Start menu.
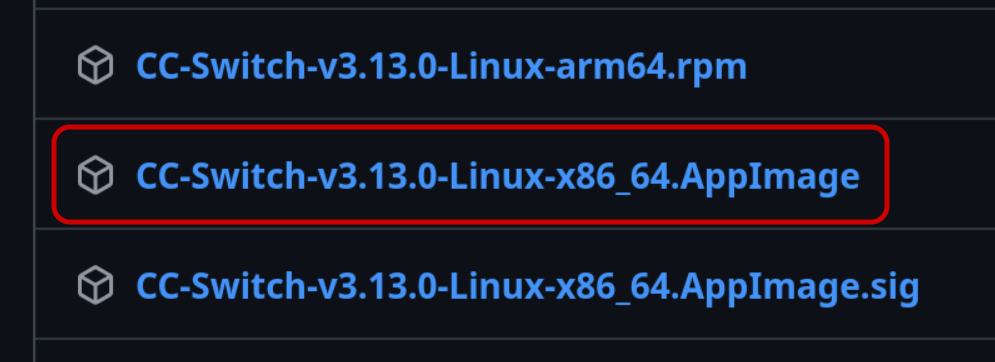
How to Start After Installation
Follow Create API Key to get a new API key.
Open
CC-Switch, click the Add button in the upper-right corner, and choose to add a unified provider.Fill in the following fields accurately in the configuration window:
textProvider name: modelink API URL: https://api.aigoo.xyz API Key: your Modelink API keySave the configuration.
CC-Switchwill enable this provider for all related Agent clients.
Next Steps
After installing and configuring CC-Switch, restart your client and start using it.
More guides: